Background
Oracle Integration Cloud (OIC) Gen3 introduces a more scalable and modular architecture, diving functionalities into different layers such as Design and Run layers. The Design Layer allows users to build, manage, and configure integrations, while the Run Layer is for integration calls to OIC and executes these integrations efficiently.
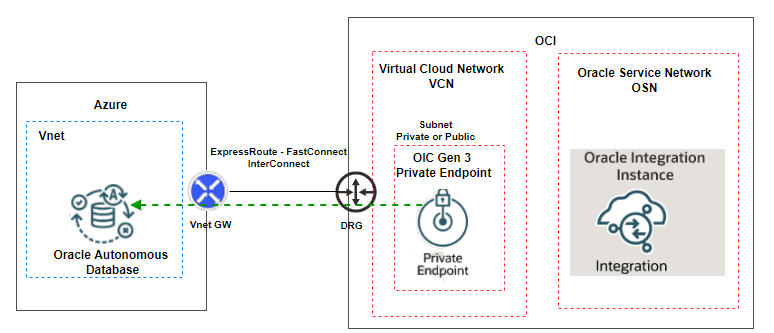
OIC can be leveraged to integrate multi-cloud applications securely and to this blog demonstrates the capability by describing the setup of a test case where OIC is used to read data from ADB@Azure over OCI – Azure Interconnect using the private endpoint in OIC.
Fig. 1 below shows the implementation architecture.
Configuration Steps
- Create Private Endpoint
- Test the Connection from Integration Design Layer
- Running and Validating the Integration
- Conclusion
Create Private Endpoint
One of the key enhancements in OIC Gen3 is the Private Endpoint feature, which enables secure, private communication between OIC to a private resource in your VCN and external private resources, such as on-premises, Azure, GCP, or AWS. This feature is crucial for organizations that require private connectivity without exposing services over the public internet.
Note: The OIC Private Endpoint secures outbound traffic. A private endpoint doesn’t secure inbound traffic, which originate outside Oracle Integration.
Note: The integration instance can use private endpoint (created inside the OCI Virtual Cloud Network) and connect to any private target outside of OCI if there is a proper connectivity available. (Like Site-to-site VPN, Fast Connect, and Azure/GCP Interconnect).
In this blog, we will demonstrate how to configure OIC to establish outbound connectivity to a private resource hosted outside of OCI.
Let’s get start it with creating the OIC Private Endpoint on OCI.
Log into the OCI console.
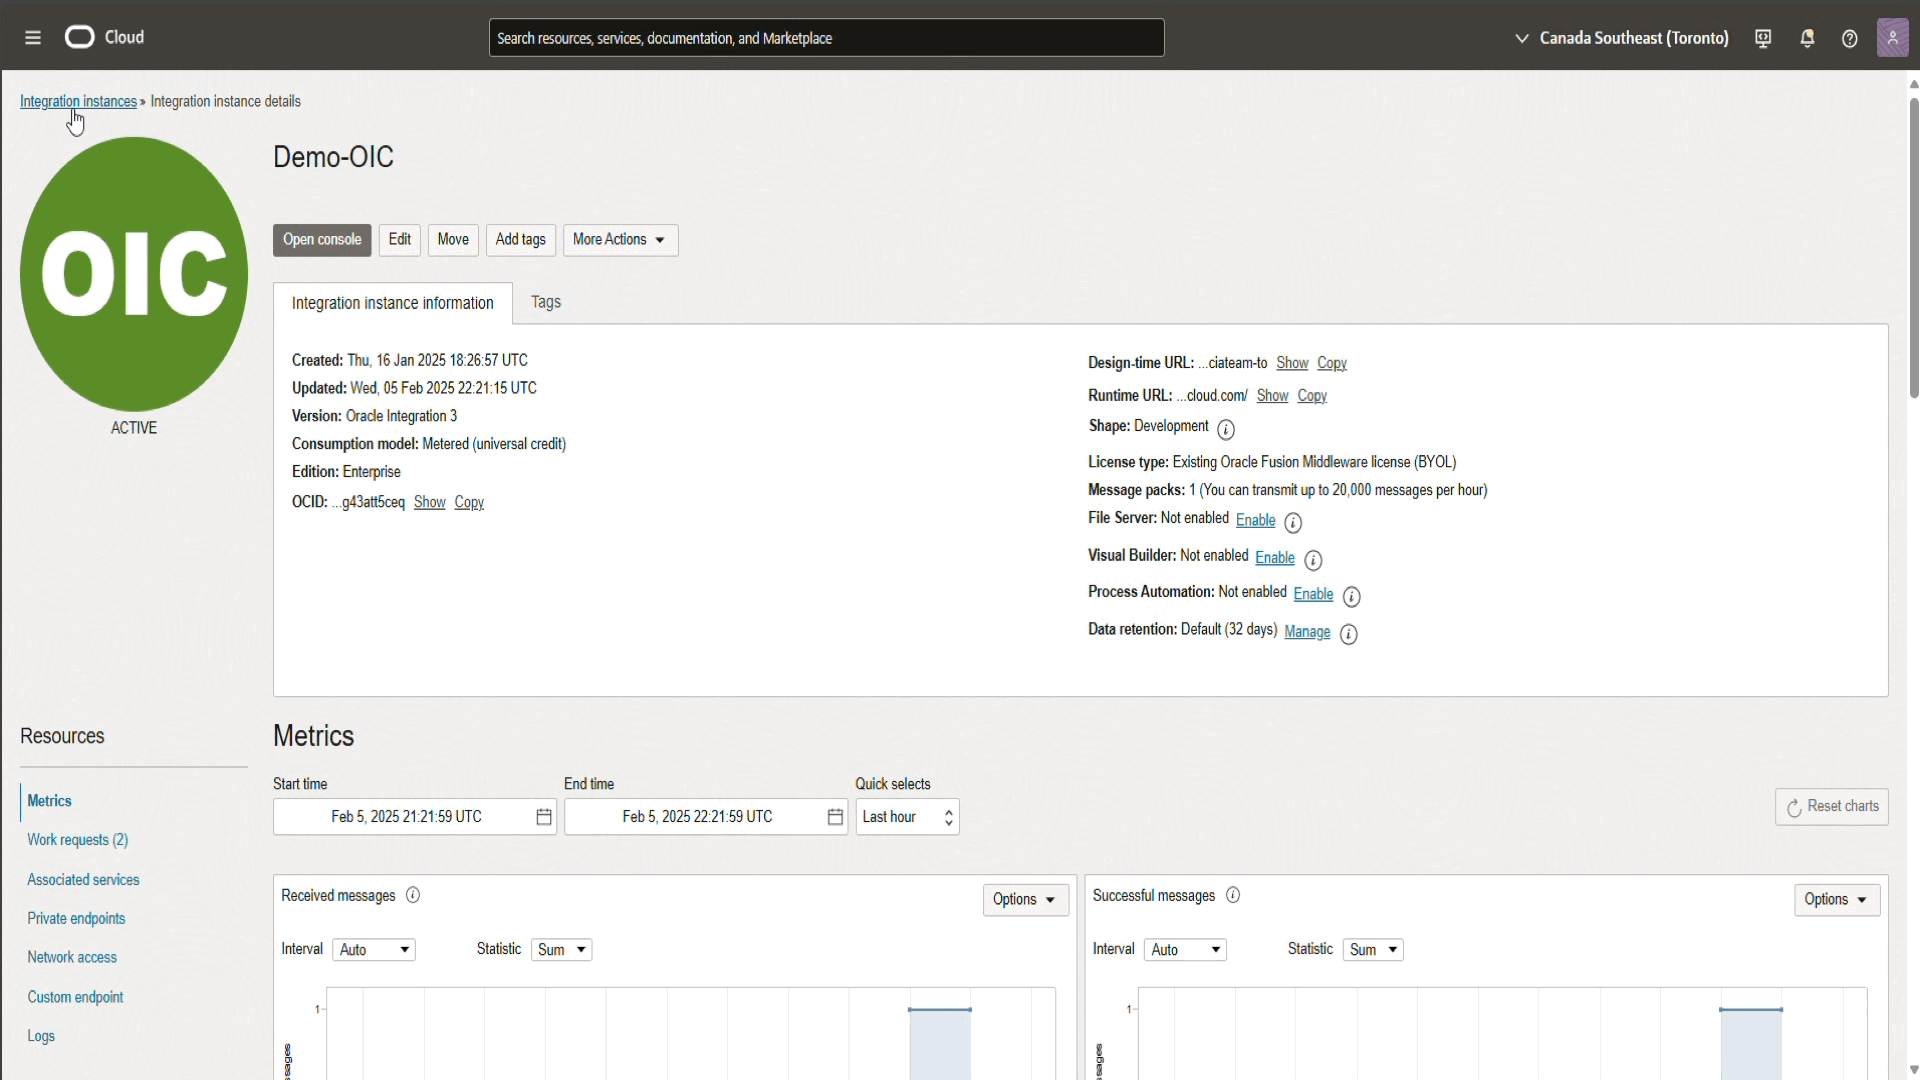
From the hamburger menu, navigate to Developer Services > Application Integration > click Integration. Select the existing OIC instance. Under the Resources, click on Private endpoint, create private endpoint.
Select the VCN and subnet where the PE will deploy.
Check the screen recording below.
Now we have the private endpoint ready, the next step in log into the OIC design layer.
Before you can Run an integration, you must create the connection to the application which you want to share data. For more detailed information for certain steps, please click here.
Test the Connection from Integration Design Layer
From the integration instance detail page, copy Design-time URL and paste it in your browser.
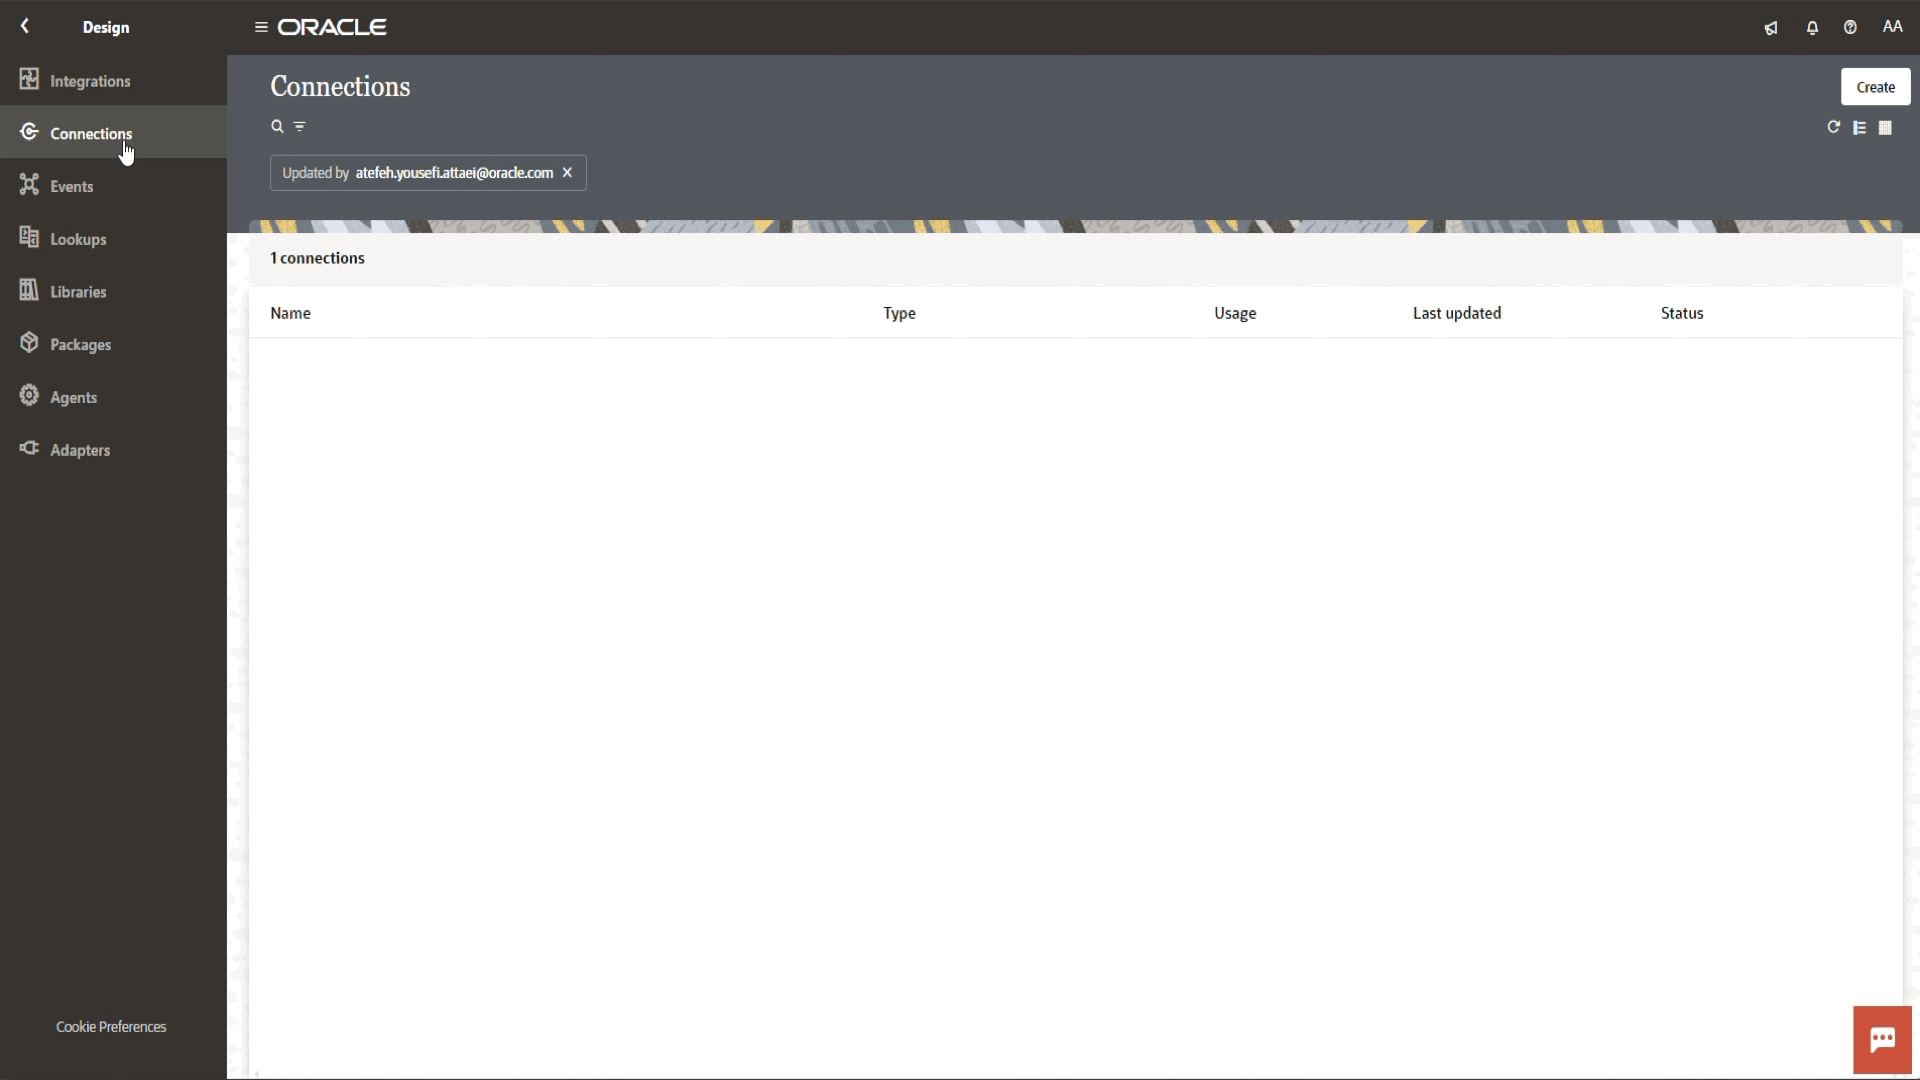
From the left navigation pane, click Design > Connection.
Select your proper connection from a connections list. In our blog we created a connection to Oracle ATP.
Under the status click on pen icon and edit to navigate to the connection page.
Fill out the required information such as Service Name, Security (DB wallet, username, and password info), and Access type (private endpoint) to connect to endpoint using your private network.
We got a connection was tested successfully message.
Check the screen record below.
Important to consider:
- We have created Oracle ATP type connection and our DB is located inside the Azure with an established interconnect connection between OCI and Azure.
- Host and Port are an optional info.
- Choose Public gateway if you plan to connect to endpoint using the internet.
- Choose Connectivity agent if you plan to connect to the on-prem endpoints through the OIC connectivity agent.
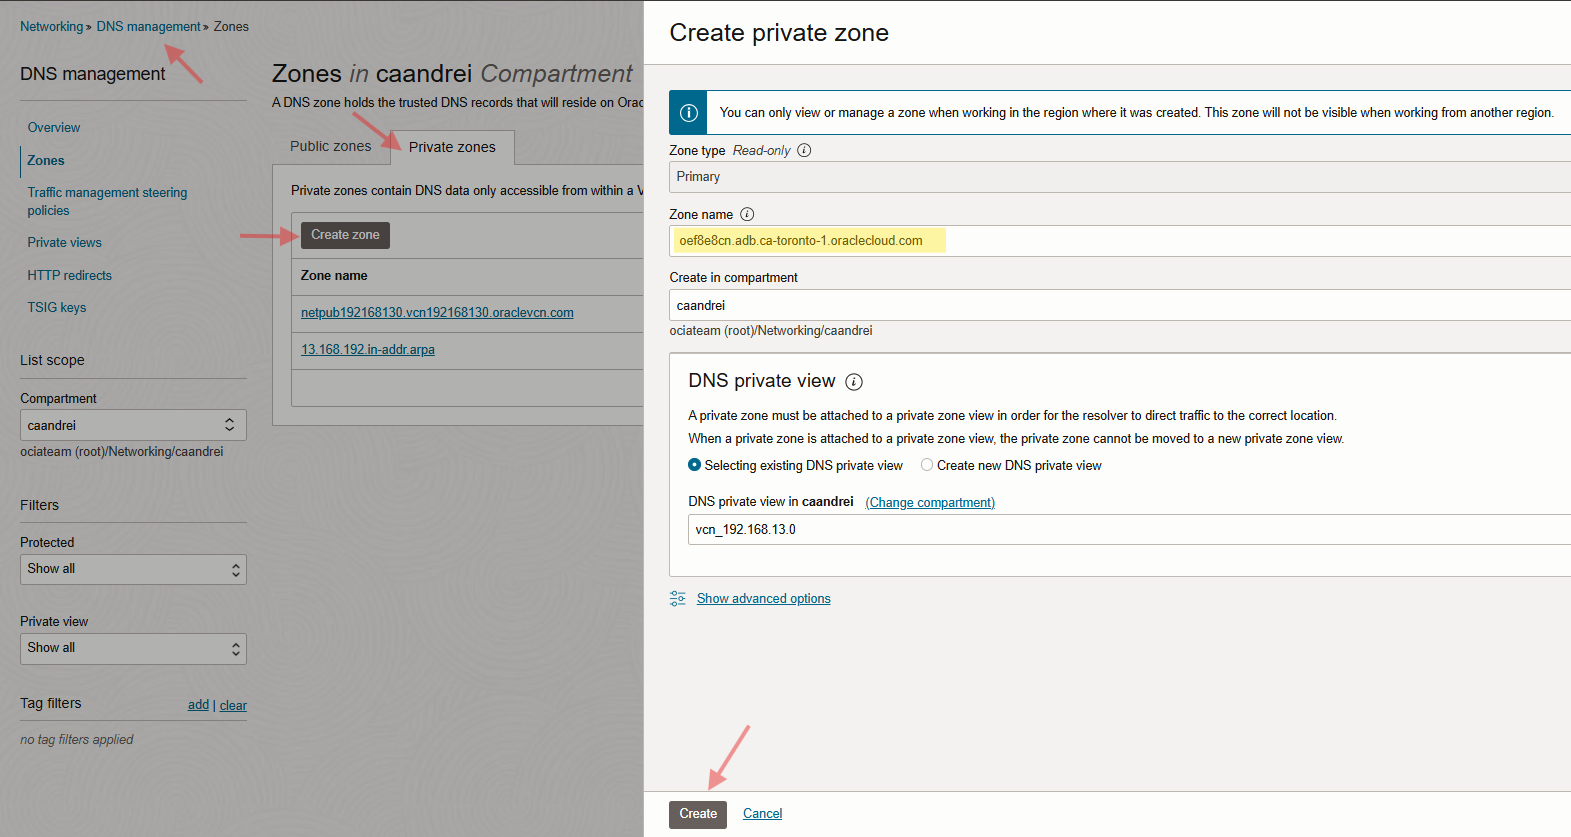
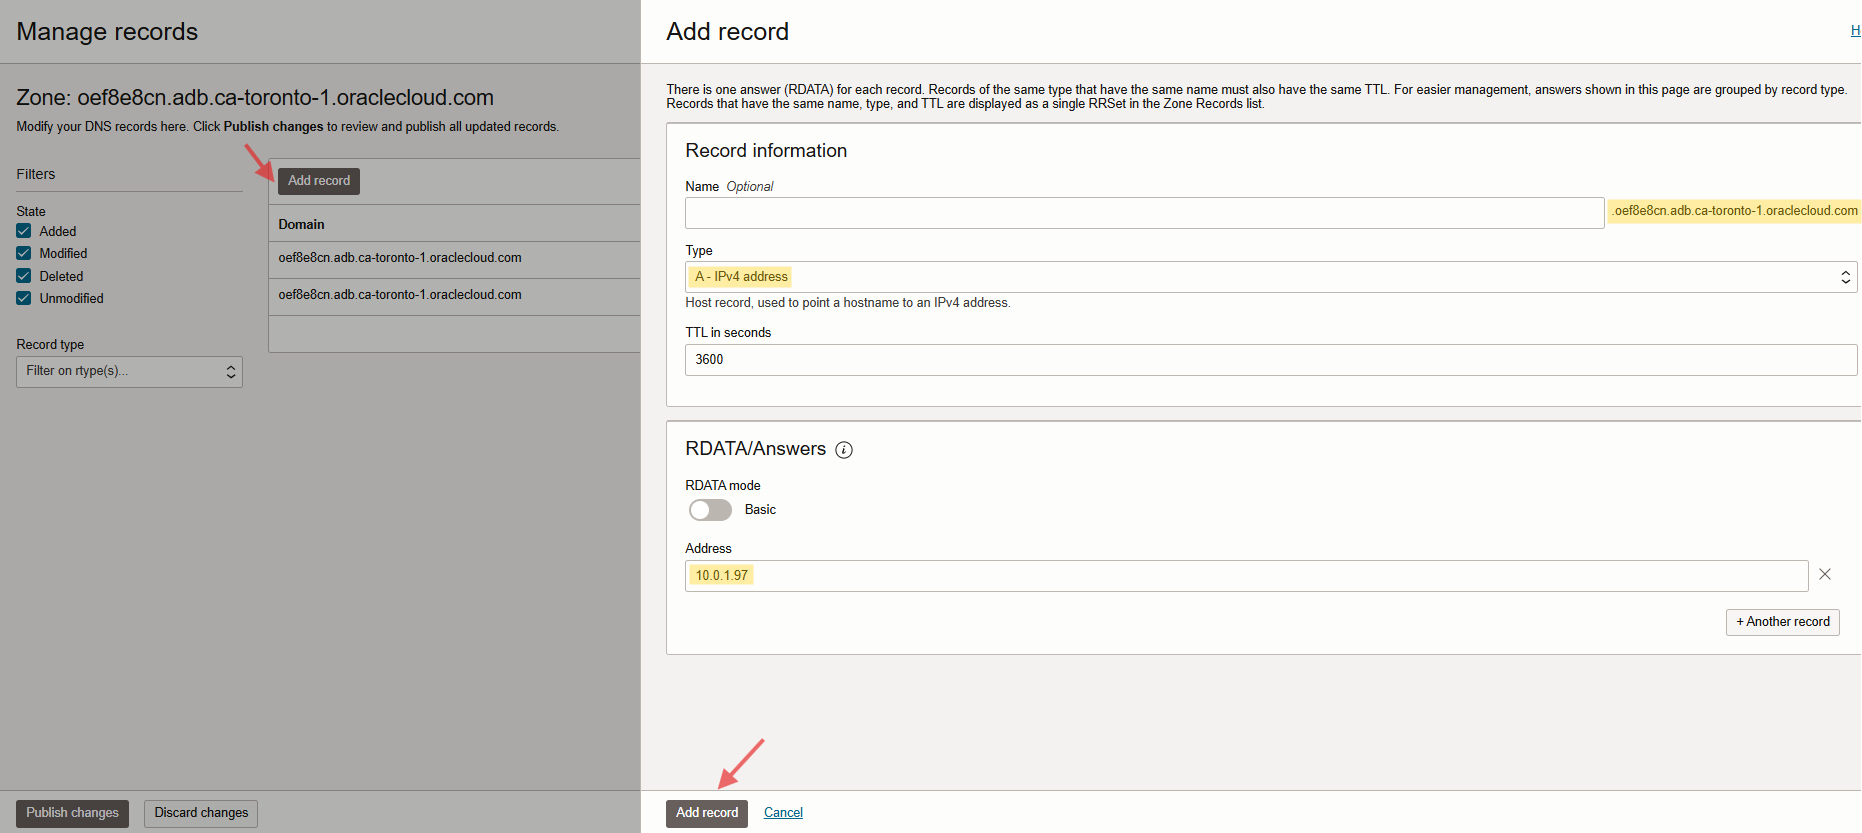
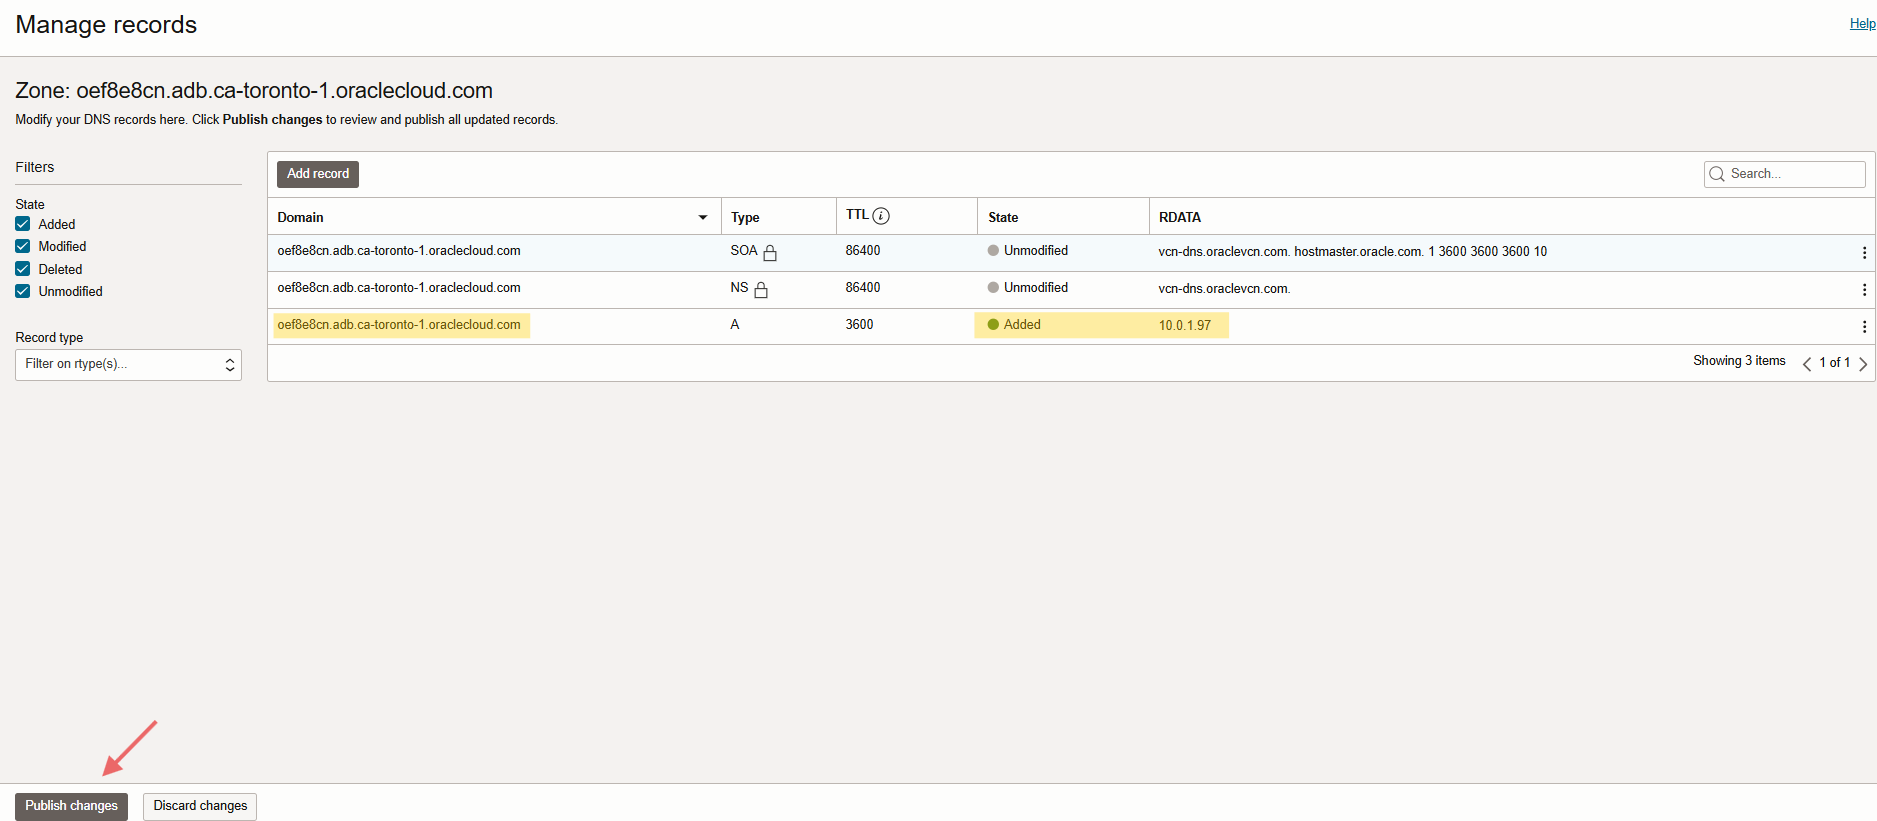
Keep in mind, you have a database wallet, including the database hostname there. For accessing the information in the wallet, we need to create local private zone under the VCN default DNS resolver on OCI or configure the forwarder rule on OCI to let Azure resolves the DNS, otherwise you will get a connection error. Please check the DNS configuration on OCI below.
Note: I created a single host zone including my DB host and domain name to prevent any DNS connectivity issue for other resources in my VCN.
(oef8e8cn.adb.ca-toronto-1.oraclecloud.com)
For more details, look at this great blog.
Running and validating the Integration
We have created an integration in our OIC design layer that connects to our external database. Integration uses the connection we tested earlier. For more detailed information for certain steps, please click here.
Let’s test it!
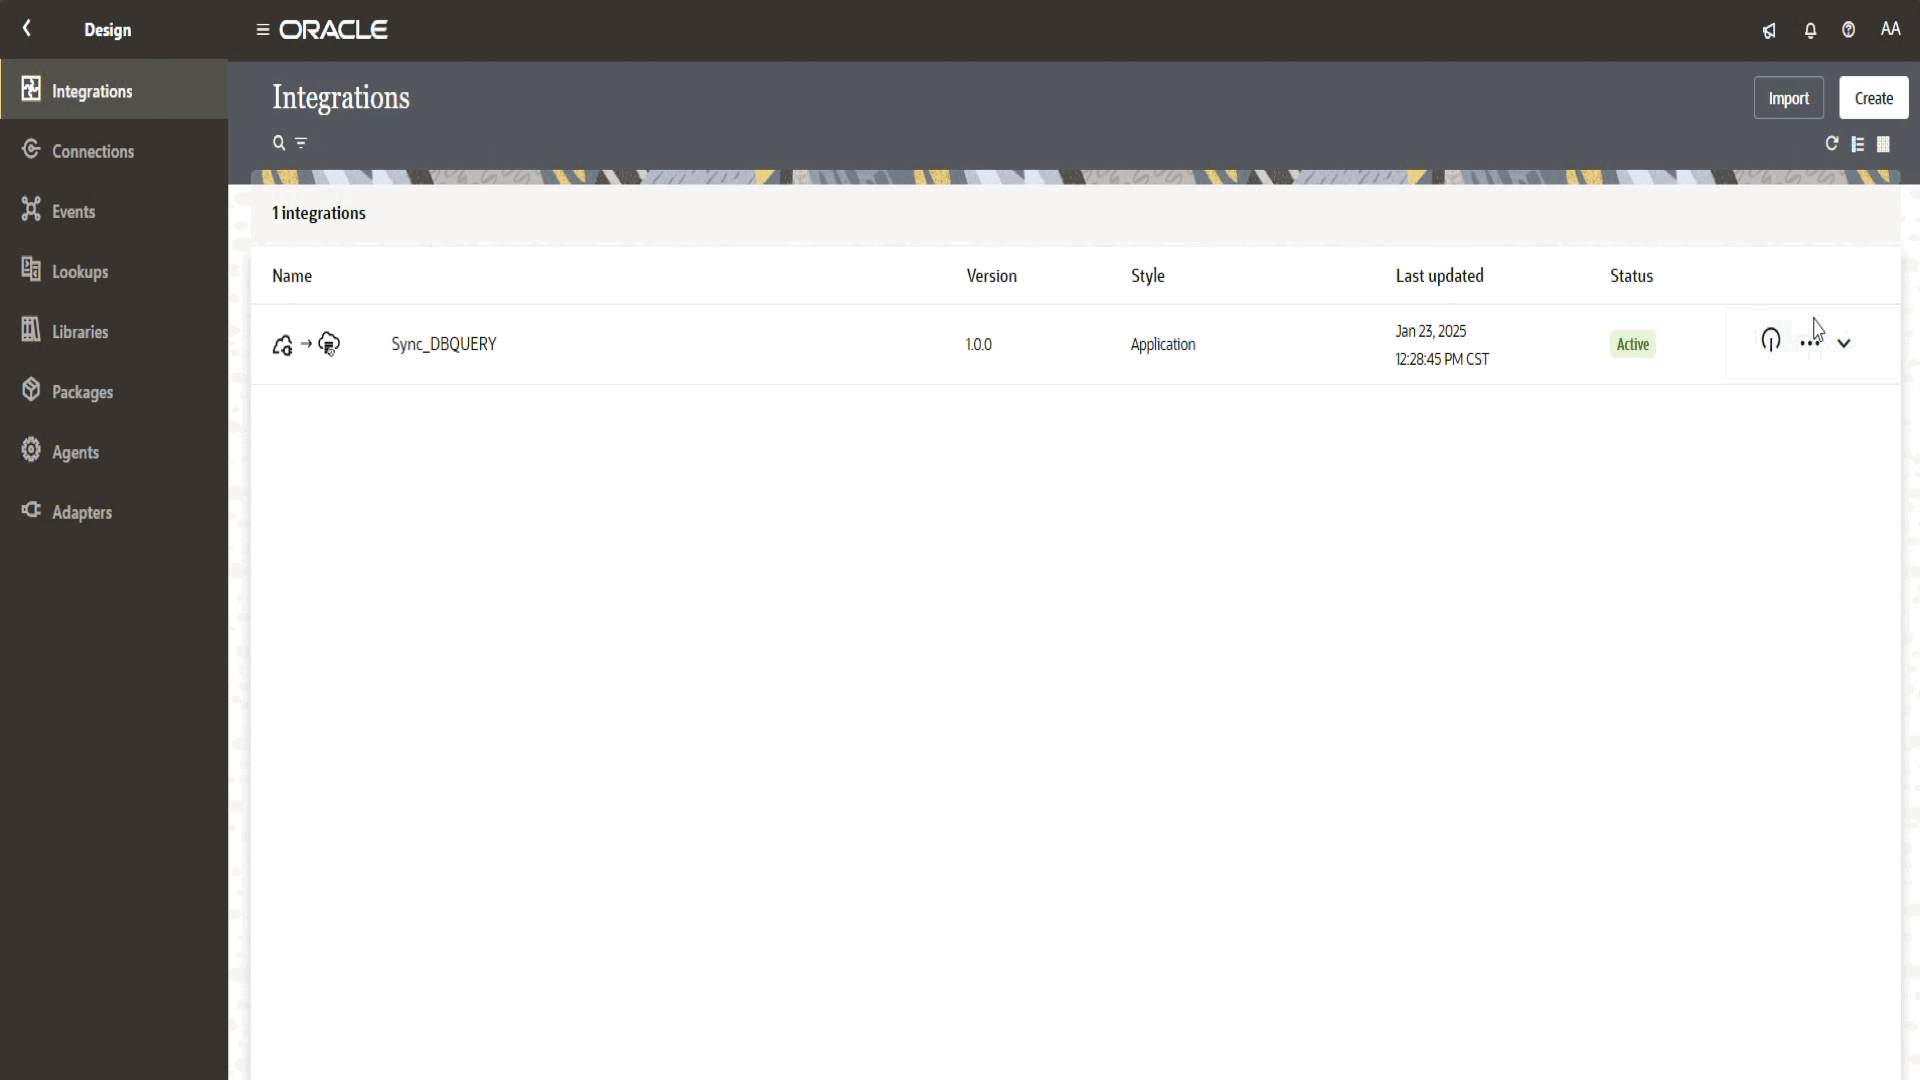
From the left navigation pane, click Design > Integrations.
Locate your created integration with “Active” status and click on three dots next to power button.
Click Run to execute the integration.
If everything is set up correctly, the request will go through the OIC Private Endpoint, securely connect to the external database (Located on Azure) and retrieve the expected results.
Validation the Response
- A successful execution will return HTTP 200, along with the fetched data from the database.
- If there are connectivity issues, check network setting, security rules, and private endpoint configurations in OCI.
Please check the screen record below.
With this, we’ve successfully leveraged OIC’s Private Endpoint feature to securely connect and fetch data from an external private resource.
Conclusion
With OIC Generation 3’s Private Endpoint feature, organizations can securely integrate with private resources hosted in on-premises or other cloud providers like Azure, AWS, or GCP. By properly configuring network connectivity and OIC settings, we successfully established an outbound connection from OIC to a private database in Azure, demonstrating a seamless and secure integration.
This approach can be extended to other private resources such as on-prem applications, private APIs, or cloud-native services, making OIC a powerful integration platform for hybrid and multi-cloud architectures.
We hope you enjoyed it!